As a software developer I love using Docker all the time. The large library of readily available software that you can run without the hassle of having to run through a cumbersome installation process is a hug plus for me. For a couple of years now I've run a home server using a Raspberry Pi as the server hardware. Were in the beginning I had my struggles installing every bit of software I needed on it after switching to docker this process has become so much easier. Just install docker and configure the software as you need it. In this blog I'll guide you through the process of installing the Docker Engine,
First of all make sure your Raspberry Pi is set up and ready to go. In this guide I'll presume you have a clean installation of Raspberry Pi OS (previously called Raspbian). If you do not have a clean installation, before you can install Docker Engine, you need to uninstall any conflicting packages.
Your Linux distribution may provide unofficial Docker packages, which may conflict with the official packages provided by Docker. You must uninstall these packages before you install the official version of Docker Engine.
The unofficial packages to uninstall are:
- docker.io
- docker-compose
- docker-doc
- podman-docker
Moreover, Docker Engine depends on containerd and runc. Docker Engine bundles these dependencies as one bundle: containerd.io. If you have installed the containerd or runc previously, uninstall them to avoid conflicts with the versions bundled with Docker Engine.
Run the following command to uninstall all conflicting packages:
for pkg in docker.io docker-doc docker-compose podman-docker containerd runc; do sudo apt-get remove $pkg; done
apt-get might report that you have none of these packages installed.
Before you install Docker Engine for the first time on a new host machine, you need to set up the Docker apt repository. Afterward, you can install and update Docker from the repository.
- Set up Docker's apt repository.
# Add Docker's official GPG key:
sudo apt-get update
sudo apt-get install ca-certificates curl
sudo install -m 0755 -d /etc/apt/keyrings
sudo curl -fsSL https://download.docker.com/linux/raspbian/gpg -o /etc/apt/keyrings/docker.asc
sudo chmod a+r /etc/apt/keyrings/docker.asc

 # Add the repository to Apt sources:
echo \
  "deb [arch=$(dpkg --print-architecture) signed-by=/etc/apt/keyrings/docker.asc] https://download.docker.com/linux/raspbian \
  $(. /etc/os-release && echo "$VERSION_CODENAME") stable" | \
  sudo tee /etc/apt/sources.list.d/docker.list > /dev/null
sudo apt-get update - Install the latest Docker packages.
sudo apt-get install docker-ce docker-ce-cli containerd.io docker-buildx-plugin docker-compose-plugin - Verify that the installation is successful by running the "hello-world" image:
sudo docker run hello-world
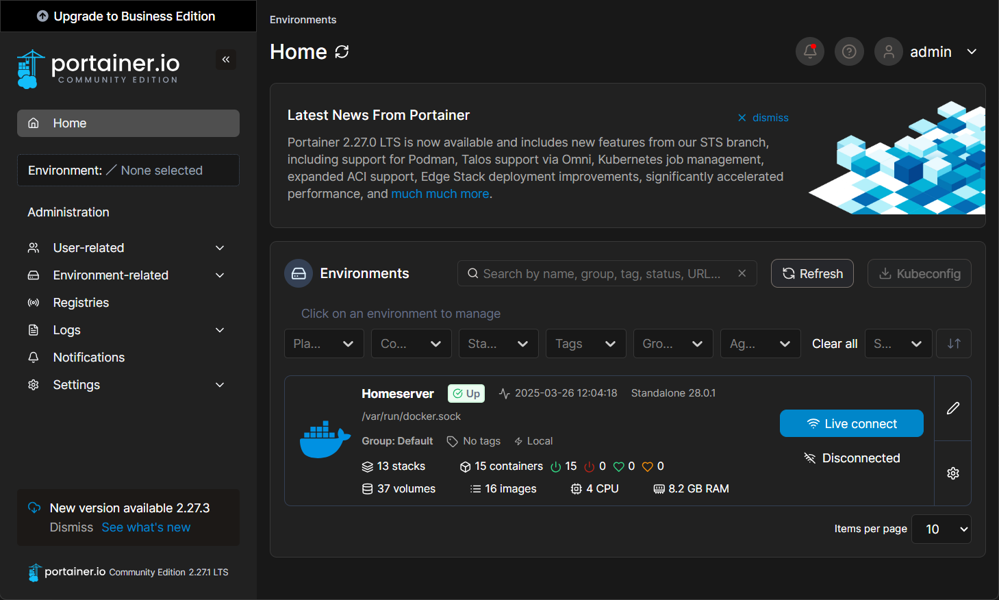
Now that docker is running you are ready to install your preferred software. I would recommend using a graphical tool like Portainer to make managing the software a bit easier.

You can simply install it by creating a compose file "portainer.yaml" like this:
services:
  portainer:
    container_name: portainer
    image: portainer/portainer-ce:latest
    ports:
      - 9443:9443
    volumes:
      - data:/data
      - /var/run/docker.sock:/var/run/docker.sock
    restart: unless-stopped

volumes:
  data:
And running
docker compose -f portainer.yaml up -d
Portainer should now be reachable in your browser using the url: https://<raspberrypi.ip>:9443/. After setting up an Administrator account you can manange all your docker containers from here.
A few considerations:
- While it is possible to use a lower end Raspberry Pi like the 3B+, I seriously recommend using a Raspberry Pi 4 with 4GB and up, or a later model like the Raspberry Pi 5
- I use a Raspberry Pi 4 with 8GB memory as a small homeserver with Docker which hosts an Umbraco website (more on this in a later post), Jellyfin and a few other tools. For this purpose it works fine, however should you wish to run more heavier tooling I really recommend looking into different hardware like a mini bussiness desktop PC.
- Raspberry Pi's OS usually run on SD card which can become corrupted because of the amount read/wire operations done on them by the OS (SD cards aren't meant to host OS'es). I would recommend using a SSD with a USB 3.0 adapter and booting the PI over USB from the SSD. Argon 40 Technologies even sells a case which allows you to use a M.2 SATA SSD


